
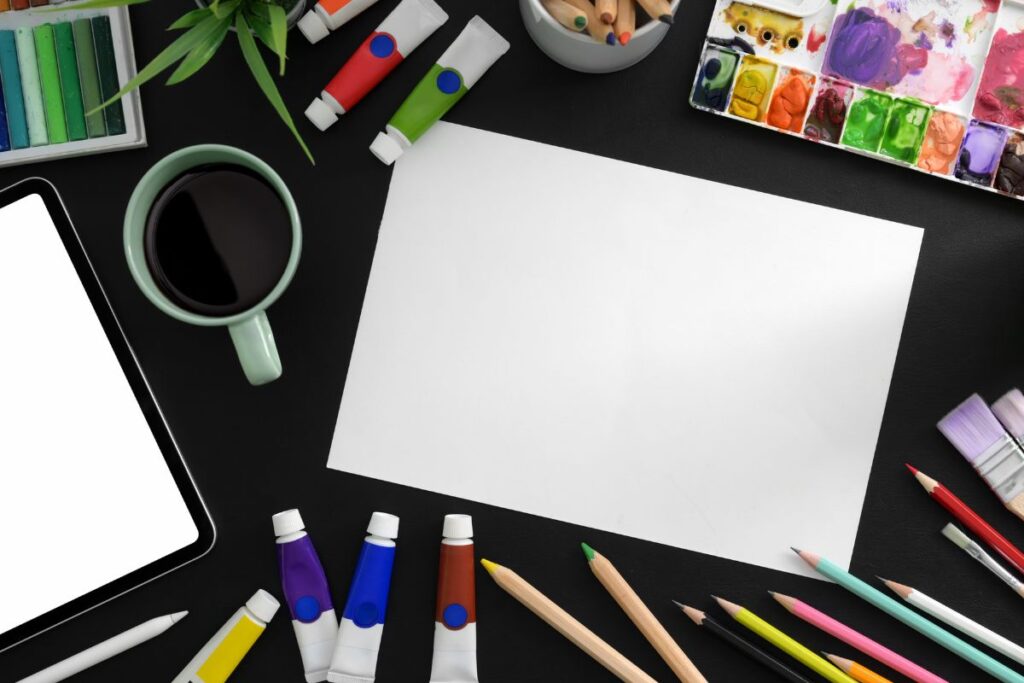
Nothing is more frustrating than printing a beautiful coloring page only to discover the lines are too faint, the colors are distorted, or the design is cut off. The problem usually isn’t your printer or the file. It’s the settings. With just a few adjustments to your printer settings, you can dramatically improve print quality and stop wasting paper and ink. This guide walks you through the essential settings that make the biggest difference for coloring pages.
1. Understanding Basic Printer Settings
Most printers offer more settings than people realize. Understanding what’s available helps you make informed choices.
When you open the print dialog on your computer, you’ll see various options. Quality settings control how the printer applies ink. Resolution settings determine print clarity. Color options let you choose between color and black and white. Paper type tells the printer what surface it’s printing on. Page orientation controls whether the page prints vertically or horizontally. Scaling determines the size of the final print.
These settings are typically found in the print dialog when you select “Print” or “Print Properties.” The exact location varies by printer brand and computer operating system. Most printers have a main settings area and an “Advanced” or “More Options” section where additional settings hide. Don’t hesitate to explore these menus. The settings only control the current print job, not permanent printer changes.
Understanding where settings are located is the first step. Different printer brands organize settings differently. Canon, Epson, HP, and Brother all have slightly different layouts. Taking a moment to locate settings on your specific printer prevents frustration later.
2. Resolution and Quality Settings
Print quality has the most dramatic impact on coloring page appearance. Quality settings control both resolution and ink application.
DPI stands for dots per inch. Higher DPI means more dots per inch, resulting in sharper, clearer prints. For text and line art, 300 DPI is the standard professional quality. For coloring pages with line art, 300 DPI ensures crisp, clear lines that are pleasant to color. Most printers default to lower DPI to save ink and time.
Quality mode options vary by printer but generally include Draft, Normal, and Best. Draft mode uses minimum ink and prints fastest but produces noticeably lower quality. This is fine for test prints or documents you don’t care much about. Normal mode balances speed and quality adequately for most purposes. Best mode produces the highest quality but uses more ink and takes longer.
For coloring pages, select at least Normal quality. Best quality is worthwhile if lines are faint with Normal mode. Many people find Normal quality perfectly acceptable for coloring pages, making it a good balance between quality and efficiency.
The quality mode directly affects line clarity. Faint lines indicate insufficient quality setting. Increasing quality setting is the first troubleshooting step for light prints.
3. Color Settings and Modes
Color options affect whether your print includes colors and how those colors appear.
Grayscale mode prints in black and white only. Use this for black and white coloring pages. Grayscale uses significantly less ink than color mode. It prints faster. If your coloring page is just outlines with no color, grayscale is appropriate and economical.
Color mode prints in full color. Use this for coloring pages that include background colors or pre-colored sections. Color mode uses more ink but delivers intended design appearance.
Color saturation controls how vivid or muted colors appear. Higher saturation produces more vivid colors. Lower saturation produces more muted colors. Default saturation is usually adequate. Adjust only if colors appear too vivid or too dull compared to the original file.
Color correction adjusts how colors appear. This matters if your prints consistently show color distortion compared to what you see on screen. Default color correction is usually appropriate. Enable it only if you notice color problems.
Most printers default to color mode. This is fine even for black and white designs, though it uses slightly more ink. Switching to grayscale for purely black and white pages saves ink without sacrificing quality for line art.
4. Paper Type Selection
Paper type settings tell the printer what surface it’s printing on. This helps the printer apply the correct amount of ink.
Plain paper setting is appropriate for standard copy paper and most printing paper. This is the most common setting used for coloring pages. Plain paper setting works well for medium-weight coloring paper and basic printer paper.
Matte paper setting is for papers with a matte finish. Using the correct setting prevents ink from beading or not adhering properly. If printing on matte paper without selecting the matte setting, ink may not dry properly or may smudge. Always select the paper type matching what you’re actually using.
Glossy paper setting is for papers with a glossy finish. Glossy paper requires different ink application than matte. Selecting glossy when using glossy paper ensures proper ink adhesion and drying.
Cardstock and heavyweight options are available on many printers. These settings apply more ink and slower printing to accommodate thicker paper. Using heavyweight settings with regular paper wastes ink. Using regular settings with cardstock can result in poor ink adhesion. Match the setting to your actual paper.
The paper type setting prevents common problems like ink beading, smudging, or not drying properly. Most coloring page printing uses plain or matte paper, so selecting the appropriate setting matters more than you might think. Checking this setting eliminates many quality issues.
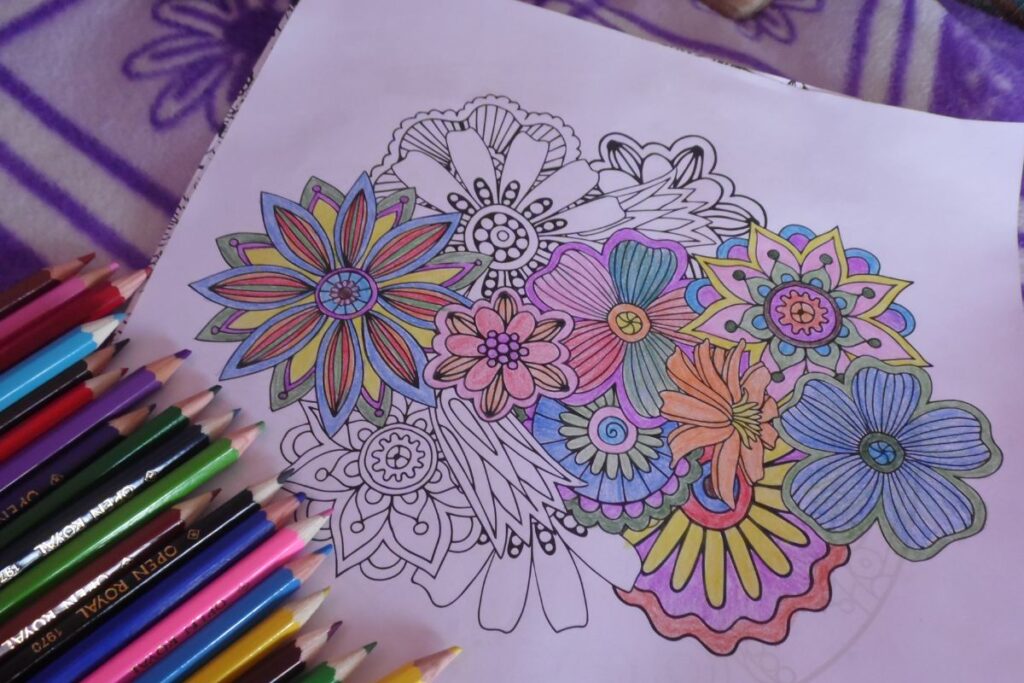
5. Best Settings for Black and White Coloring Pages
Black and white coloring pages have specific optimal settings that produce crisp, clear lines.
For quality setting, select Normal or Best depending on your preference. Normal quality produces adequate results for most people. Best quality ensures crisp, sharp lines if Normal quality seems too light. Most people find Normal quality sufficient and prefer the faster printing speed.
Resolution should be at least 300 DPI for clear line art. If your printer doesn’t display DPI options directly, the Quality setting controls resolution. Higher quality settings automatically use higher DPI.
Select grayscale mode for black and white designs. This uses less ink and produces true blacks rather than color black. Grayscale is more economical and appropriate for line art.
Paper type should match what you’re printing on. For standard coloring paper, select Plain Paper. For cardstock, select Cardstock or Heavyweight.
A recommended starting point is Normal Quality, Grayscale Mode, and Plain Paper setting. Test this combination first. If lines appear too faint, increase to Best Quality. If ink use seems excessive, decrease to Draft and see if quality is acceptable.
6. Best Settings for Color Coloring Pages
Color coloring pages require different settings to ensure color vibrancy and accuracy.
Select Best or High quality when printing color designs. Color saturation shows best with higher quality settings. Color printing benefits more from quality improvements than black and white printing. The extra ink and time is worthwhile for color accuracy.
Color accuracy matters for pre-colored designs and background colors. Default color settings work for most purposes. If colors appear significantly different from the original file, enable color correction or adjust saturation slightly.
Paper type dramatically affects color appearance. Matte paper produces muted, professional-looking colors. Glossy paper produces vivid, saturated colors. Photo paper produces the most vibrant colors. Plain paper produces acceptable but less vibrant results. Choose paper type based on the desired color appearance.
Resolution of at least 300 DPI ensures color clarity. Colors bleed and blend at lower resolution. This matters for designs with color areas next to each other. Higher resolution prevents unwanted color bleeding.
Color mode should be set to Color, not grayscale. This preserves intended design colors. Default color settings are usually appropriate. Adjusting saturation or correction is rarely necessary unless colors appear consistently wrong.
A recommended starting point is Best Quality, Color Mode, and Matte Paper setting. Adjust if colors appear too vivid or too muted. Test one page before printing an entire set.
7. Sizing, Scaling, and Layout
Getting the correct page size and avoiding cut-off designs requires proper sizing and layout settings.
Fit to Page option scales the design to fit the paper size. Use this when printing files that may be slightly larger than your paper. This prevents designs from being cut off at edges. Fit to Page ensures the entire design prints.
Actual Size prints the file at its designed size without scaling. Use this when you want the exact size the designer intended. Actual Size is appropriate for files designed for standard paper sizes.
Custom scaling lets you manually enter a percentage. You can scale up to 200 percent or down to 50 percent or smaller. Custom scaling is useful for enlarging designs to cover full pages or reducing them to fit specific sizes.
Landscape orientation prints with the page wider than tall. Portrait orientation prints with the page taller than wide. Most coloring pages are portrait, but some designs work better landscape. Choose orientation based on the design’s aspect ratio.
Borderless printing extends the image to the edges of the paper, eliminating white borders. Not all printers support borderless. When available, borderless creates a more finished appearance for full-page coloring designs.
Margins control white space around the design. Minimize margins to maximize the coloring area. However, some margin is necessary for the printer to grip the paper. Most printers require at least a small margin. Check your printer’s manual for minimum margin requirements.
Start with default settings. If designs appear cut off, enable Fit to Page. If designs are too small, enable borderless or increase custom scaling. If designs are too large, decrease custom scaling. Test sizing before printing an entire batch.
8. File Preparation and Troubleshooting
File format and quality affect printing results. Common problems usually have straightforward solutions.
PDF format is ideal for printing coloring pages. PDF preserves the original design exactly as intended. PDFs print consistently across different printers. When possible, use PDF files for coloring pages.
Image formats like JPG and PNG work but may not preserve quality as well as PDF. Lower resolution image files may print with visible pixelation. If printing from an image file, confirm it’s at least 300 DPI before printing.
Preparing files before printing includes checking file resolution and size. A file that looks perfect on screen may have insufficient resolution for printing. Check that files are at least 300 DPI. Resize files if they appear too small or too large.
Light or faint prints usually indicate insufficient quality setting or low resolution. Increase the Quality setting to Best. Check that resolution is at least 300 DPI. If the file itself has low resolution, increasing printer settings won’t help. Use a higher resolution version of the file.
Colors not appearing correctly may indicate color mode problems or incorrect paper type setting. Confirm you’re printing in Color mode, not grayscale. Check that paper type matches what you’re actually using. Enable color correction if colors consistently appear wrong. Test one page to confirm colors before printing many.
Pages printing with streaks or lines usually indicate a clogged print head. Run the printer’s cleaning cycle from the maintenance menu. If streaks persist, the printer may need professional service.
Images being cut off or scaled incorrectly usually indicates scaling problems. Enable Fit to Page to ensure the entire design prints. Check that margins aren’t set too large. Test one page with different scaling settings before printing a batch.
9. Testing and Optimization
Systematic testing helps you find the best settings for your specific printer and preferences.
Start with draft quality test prints. Draft mode prints quickly and uses little ink. This lets you test scaling, layout, and sizing without wasting premium paper and ink. Draft prints show whether the design fits properly and is the right size.
After confirming sizing is correct, test different quality modes. Print the same design at Normal and Best quality. Compare them side by side. Determine which quality is acceptable for your purposes. Most people find Normal quality adequate and appreciate the faster printing.
Compare different paper type settings if you use multiple paper types. Test Plain Paper, Matte, and other settings you’ll use regularly. Document which setting works best for each paper type. This reference saves time later.
Create a settings template once you’ve found optimal settings. Write down the exact settings you used (Quality, Color Mode, Paper Type, Scaling). Keep this reference handy when printing. You can usually save printer profiles or presets for different purposes (black and white vs. color, plain paper vs. cardstock).
Test with your preferred paper before committing to large print jobs. Paper quality affects results. What works on one paper may not work on another. Testing prevents wasting large quantities of good paper.
Build a reference of settings that work for different designs. Note which settings produced the best results for line art, color designs, and different paper types. Over time, you’ll develop a system that works perfectly for your situation.
Conclusion
The most important printer settings for coloring pages are Quality (set to Normal or Best), Color Mode (Grayscale for black and white, Color for colored designs), Paper Type (match your actual paper), and Scaling (use Fit to Page if needed). These four settings control nearly all aspects of print quality.
For black and white coloring pages, use Normal Quality, Grayscale Mode, and Plain Paper. For color coloring pages, use Best Quality, Color Mode, and appropriate Paper Type for your paper.
Test settings on a few pages before printing large batches. Small adjustments to quality or scaling often dramatically improve results. What works for one printer or paper type may need adjustment on another, so testing is essential.
Remember that printer settings affect only the current print job. Making adjustments is risk-free. Experiment to find what works best for your specific printer, paper, and preferences. Once you’ve found optimal settings, save them for future use. The time spent optimizing settings initially saves frustration and wasted paper and ink long-term.